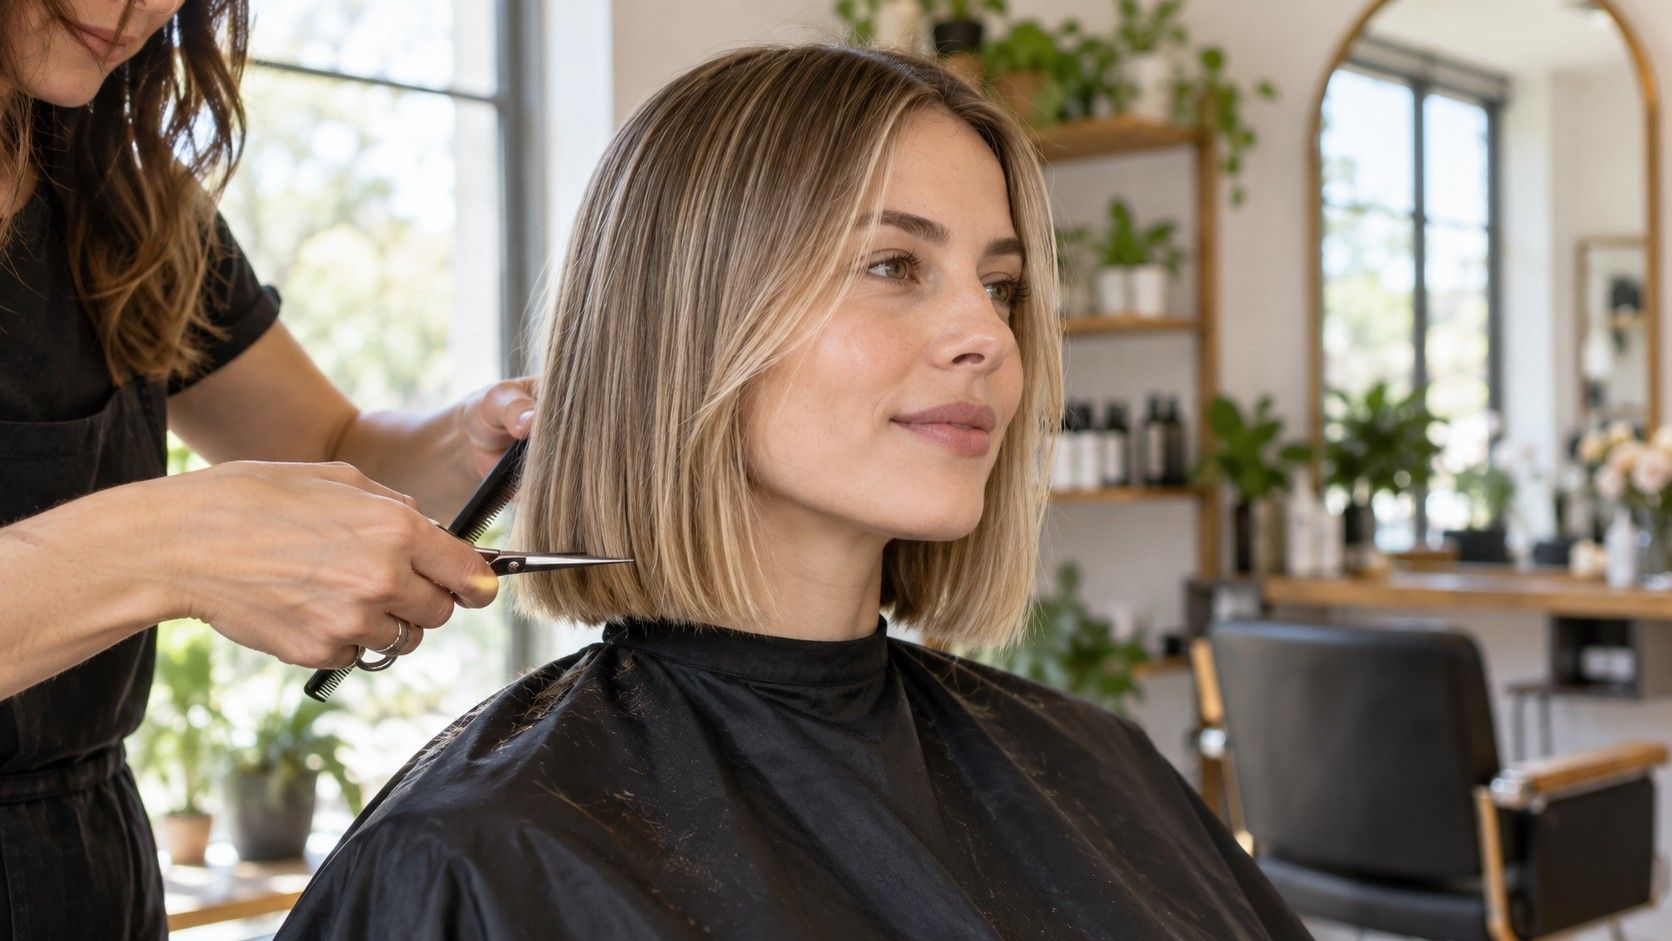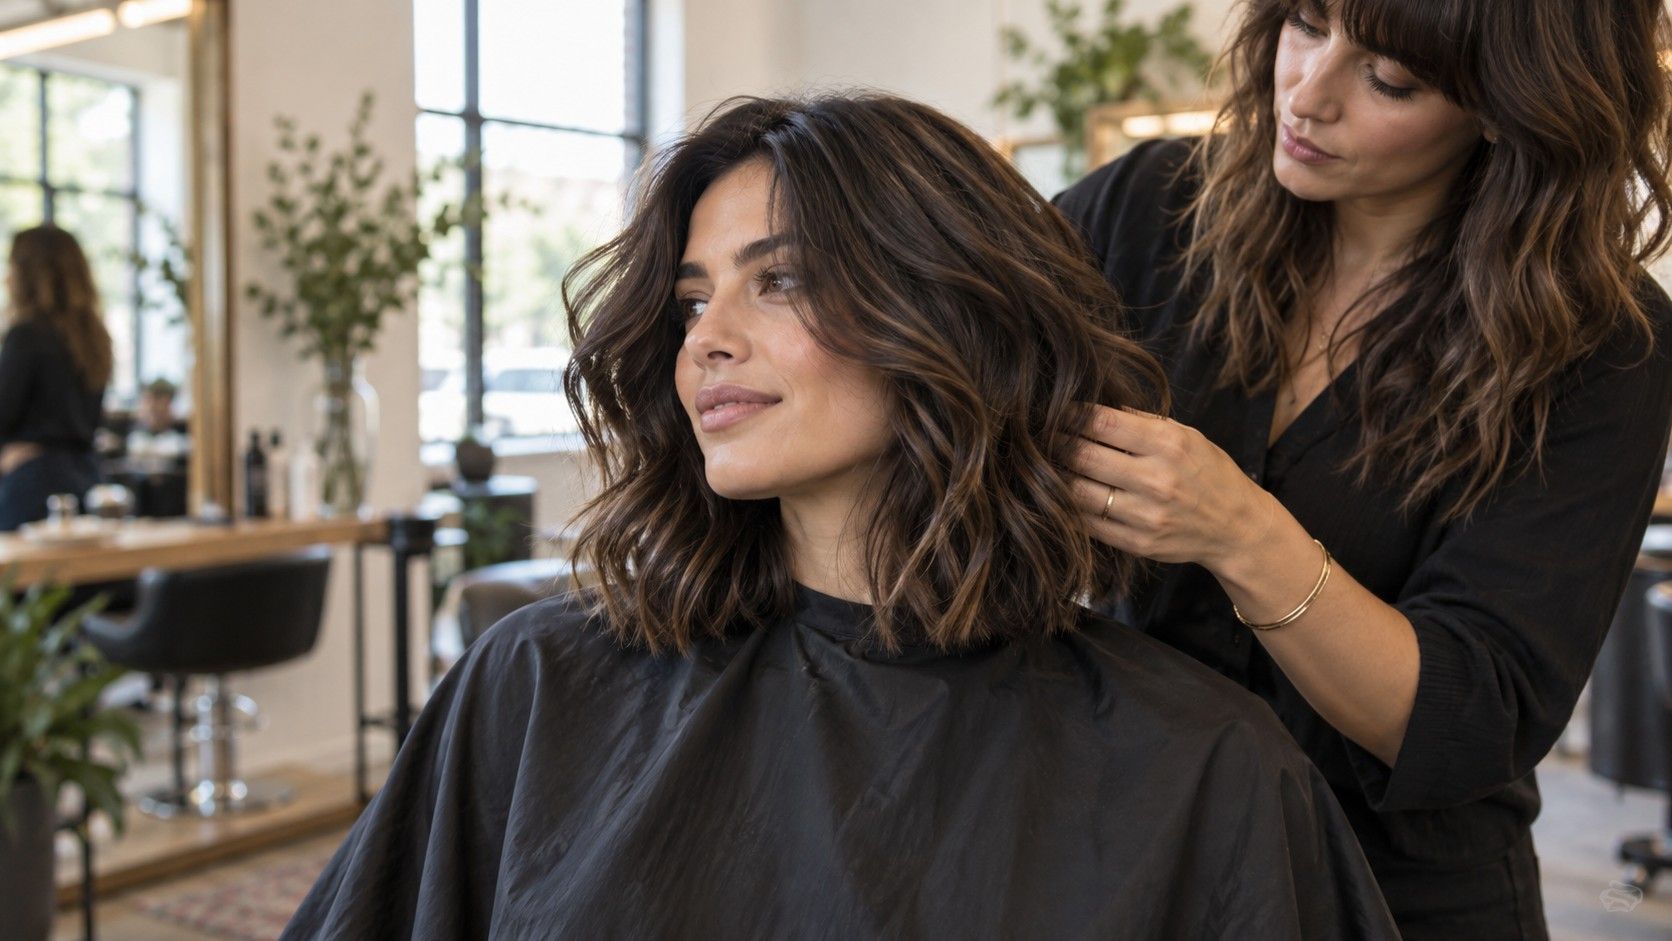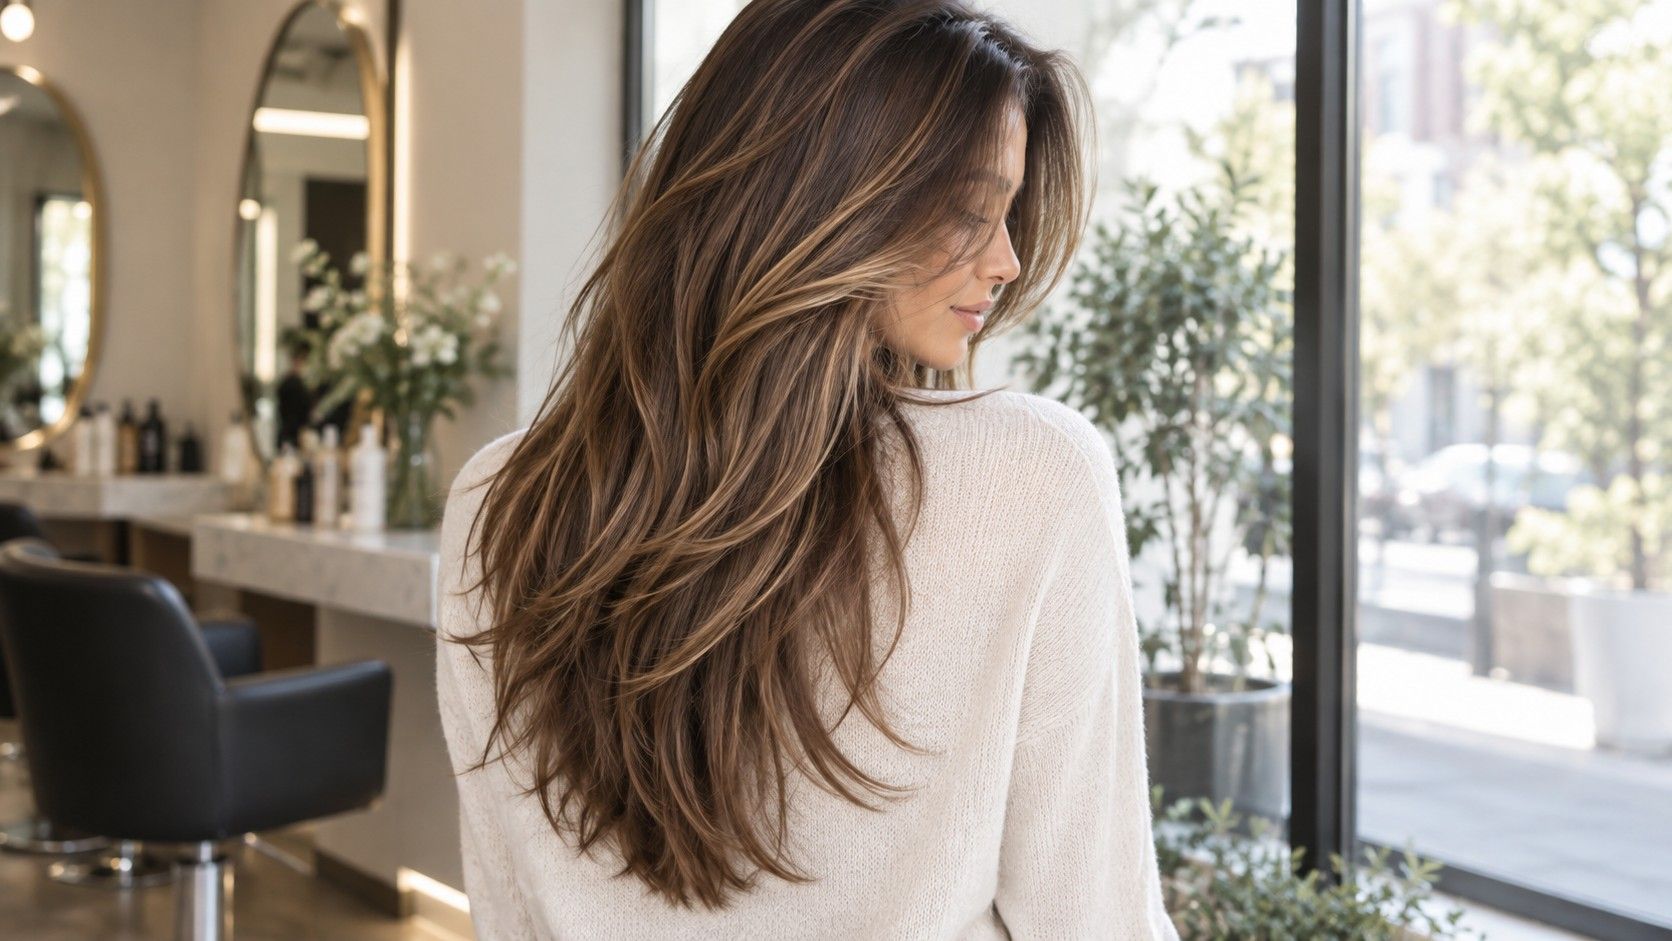
Long hair can look beautiful and still feel oddly heavy: it hangs in one solid curtain, eats up the shape of a good outfit, and takes forever to dry. Layers are meant to change that without sacrificing the length you spent years growing. The useful question is not whether layers are fashionable, but where they should begin, how much weight they should remove, and whether you will still like the cut on an ordinary damp Tuesday rather than only in the salon mirror.
What layers actually change in long hair
A layered cut gives different parts of the hair different lengths. That sounds obvious, yet the result is easy to misread. Shorter pieces around the crown can create lift, while longer internal layers stop thick hair from sitting like a single block. On finer hair, too many short layers can do the reverse: the ends look sparse and the whole cut loses the substantial line that made long hair feel healthy.
Choosing the first layer when you want to keep the length
I think of long hair layers as editing, not as a dramatic reinvention. A good cut leaves the perimeter looking intentional from the back, then introduces movement when you turn your head or pull the front sections forward. Ask to see the shape from the side and the back before agreeing to anything. The front view is flattering in almost every consultation; the back is where over-layering announces itself after the blowout has gone flat.
Healthy-looking length begins at the ends, not at the crown
Texture matters more than the name of the haircut. Straight, dense hair often benefits from long, blended layers that break up the weight. Loose waves can carry more variation because the bends hide the joins. Tight curls need a cutter who understands shrinkage; a layer that looks safely below the chin while wet may spring up much higher once dry. Bringing a recent photo of your own hair in daylight is more useful than saving ten photos of people with completely different density.
The first layer is the decision that makes the rest of the cut either easy or annoying. If it starts around the collarbone, it can give long hair a soft shape without making the top half feel chopped. Starting around the cheekbone or jaw gives more movement near the face, but it also creates sections that must be styled to look deliberate. There is no prize for choosing the shortest possible layer if you normally air-dry and leave the house with a tote bag over one shoulder.
For someone whose hair reaches the middle of the back, I would usually protect the last few inches first. Those ends are the oldest and most likely to be dry, porous, or uneven from previous trims. Removing obvious split ends before adding shape makes the layers read as a choice rather than a rescue operation. If the goal is to retain length, say that plainly: ask for a dusting at the perimeter and for the internal layers to be kept long enough to tuck behind the ears.
There is also a difference between removing bulk and removing visible length. Thick hair can feel lighter with subtle internal layers that barely show when the hair is still. Fine hair rarely needs that same treatment. In that case, a blunt-ish baseline with only a few long pieces around the front may give a fuller result. A stylist who immediately reaches for thinning shears without checking how your hair behaves dry is taking a shortcut you may be living with for months.
| If your hair is... | A sensible starting point | What to watch for |
|---|---|---|
| Fine and straight | Long layers below the shoulders, a strong perimeter | Too many short pieces can make the ends look thin |
| Thick and straight | Blended internal layers with a collarbone starting point | Heavy thinning can leave fuzzy, awkward ends |
| Wavy | Long rounded layers cut with the natural pattern visible | Ask how the cut will sit when air-dried |
| Curly | Shape planned on dry or mostly dry hair | Shrinkage can make face layers much shorter than expected |
Face-framing pieces should soften, not form a shelf
Face-framing layers are often the part people ask for and the part they later regret. A soft frame can connect long hair to your features and make a centre or off-centre part look less severe. A blunt, disconnected chunk near the cheek can look like it belongs to another haircut. The difference is usually blending and placement, not a magical name such as a butterfly cut.
Before the scissors come out, put your hair in the part you wear most often. This is a small but important practical check. A centre part distributes the face pieces evenly; a deep side part makes one side appear much shorter and fuller. If you switch parts constantly, ask for a gentler curve rather than a sharply cut face frame. It will not give the same immediate drama, but it will not collapse into two unrelated wings when you change direction.
The shortest point deserves an honest discussion. Cheekbone-length pieces draw attention upward and can work well with a long fringe. Jaw-length pieces are quieter and easier to pin back. Anything close to the mouth tends to catch in lip gloss, coat collars, and sunglasses; glamorous reference photos do not mention that bit. I would rather have a slightly longer frame that grows out gracefully than one that needs a round brush every morning to avoid flipping outward.
Layers cannot repair damage, and a cut cannot seal split ends back together. What it can do is stop damaged ends from dominating the silhouette. When long hair looks frayed in bright bathroom light, adding more crown layers often makes the contrast worse: the top gains volume while the bottom still looks tired. A modest trim, then a few carefully placed layers, is the less exciting answer and usually the better one.
Pay attention to how the ends feel after washing, not just how they photograph. If they snag on a cotton T-shirt or form little white dots under a desk lamp, they may need more taken off than you had planned. That does not mean abandoning long hair. It means choosing a length that has enough density to look like it belongs to you. Long hair layers work best when the hemline still has presence.
Maintenance is also about timing. Most people with long hair do not need a radical appointment every six weeks, but letting a layered cut grow untouched for a year can turn the shape into a collection of old decisions. A light clean-up every three or four months is often enough to remove worn ends and restore the face frame. If you heat-style often, use a heat protectant and keep the tool moving; repeatedly clamping the same front pieces is an efficient way to make them the first sections that break.
Styling a layered cut at home without turning it into a project
The most convincing long hairstyles with layers usually look mobile, not rigid. Start with hair that is mostly dry, especially if you have fine strands. A tennis-ball-sized round brush and a dryer can give the front layers a bend, but they do not need to become a perfect salon wave. Point the airflow down the hair shaft and roll the brush away from the face for the last few seconds. Let the section cool before touching it, otherwise the bend disappears while you are still looking for your keys.
For a looser routine, divide the hair roughly at ear level. Dry the lower length as usual, then give the upper section a little lift at the root with your fingers or a large roller. The aim is separation, not height for its own sake. A small amount of lightweight cream through the last third can quiet flyaways; applying it near the roots is how a fresh haircut becomes flat by lunchtime.
On day two, do not re-style every inch. Dampen only the face-framing pieces with a fine mist, reset their direction with the dryer, and leave the rest alone. This takes three minutes and avoids the brittle feeling that comes from daily full heat styling. If your layers flip out in different directions, check whether the ends were dried while pressed against a hoodie or scarf. The cut is not always the problem; long hair remembers whatever shape it dried in.
How to ask for the cut you will actually wear
Bring two or three reference images, but label what you like in each one: the length, the front pieces, the amount of volume, or the back shape. Saying “I want this” while showing a heavily curled photo leaves too much room for interpretation. Mention your real routine as well. If you wear a claw clip at home, air-dry most days, or need to tie your hair back for work, those details determine whether the shortest layers will feel charming or constantly in the way.
A clear request might be: keep my overall length, remove damaged ends, add soft long layers starting around the collarbone, and make the face frame long enough to tuck behind my ears. That gives the stylist a clear direction without pretending you know the exact cutting technique. Ask them to show you the first front section before it is cut, and speak up if it looks shorter than you expected. Hair grows, but that is not a useful consolation during the first three awkward weeks.
The best layered haircut for long hair should make your existing length easier to wear. It should move when you walk, sit comfortably in a ponytail, and still look like a haircut when you have not used a brush for twelve hours. If it only works after a complicated blow-dry, the layers may be right for a photograph but wrong for your life.