A virtual hairstyle try on is most useful when it answers a small, practical question: should the bob stop at the jaw or below it, would a fringe fight your cowlick, and does a centre part still feel like you? It cannot promise the haircut you will get, but it can prevent the familiar moment in a salon chair when a vague idea turns into a very permanent decision.
Use the try-on to compare choices, not to hunt for a perfect face
The first trap is treating a hairstyle try on like a verdict on your face. A screen has flattened your features, removed movement, and often placed a neat, glossy cut over hair that was photographed on a model under studio lights. That is a poor basis for deciding whether you are allowed to wear something. It is a decent basis for comparing two versions of the same idea.
Start with a photo that gives the tool a fair chance
Keep the test narrow. Try your current length, then a collarbone cut, then a chin-length option. With each one, leave the parting unchanged at first. If all three suddenly look wrong, the problem may be the photo or the pasted hairline rather than the length. I find side-by-side comparisons much more honest than flicking through twenty dramatic styles and reacting to the last one.
Fringes need a separate test because the hairline has opinions
Look for proportions that survive the novelty. Does the shape open space around your cheekbones? Does it make your forehead feel more exposed than you expected? Does a blunt line draw attention to the jaw in a way you like? These are observations, not rules. The useful result is a short list of things to discuss with a stylist, not a digital approval stamp.
A front-facing photo taken near a window on an overcast day usually beats a heavily filtered selfie. Stand a little back from the camera, keep the lens near eye level, and use the rear camera if someone can help. A close phone selfie stretches the centre of the face and makes the sides recede, which is exactly the distortion you do not want while judging a face-framing cut.
Pull hair away from the face only if you are testing the outline of a short haircut. For a long layered cut, photograph your usual parting and your normal amount of volume. A virtual try-on needs to see where your hair actually begins. If the photo hides a strong widow's peak, deep side part, or a fringe that grows forward, the result will politely ignore the detail that controls your real styling routine.
Lighting deserves more attention than it gets. Strong sun from one side can make a pasted fringe appear thicker on one temple and thinner on the other. Bathroom lighting can turn a warm brown into a flat dark block. Take two neutral photos if possible: one with hair tucked behind the ears and one as you usually wear it. When the same haircut works on both, it is worth saving.
| Photo choice | What it helps you judge | Common mistake |
|---|---|---|
| Front-facing, eye-level photo | Overall length and face-framing | Using a wide-angle selfie from too close |
| Usual parting visible | Whether the fringe and crown sit plausibly | Hiding a cowlick or changing the part first |
| Soft daylight | Contrast between hairline, skin and cut shape | Relying on harsh overhead light |
| Hair shown at normal volume | How layers may behave on an ordinary day | Testing only after a blowout or filter |
Compare length before you get distracted by colour and texture
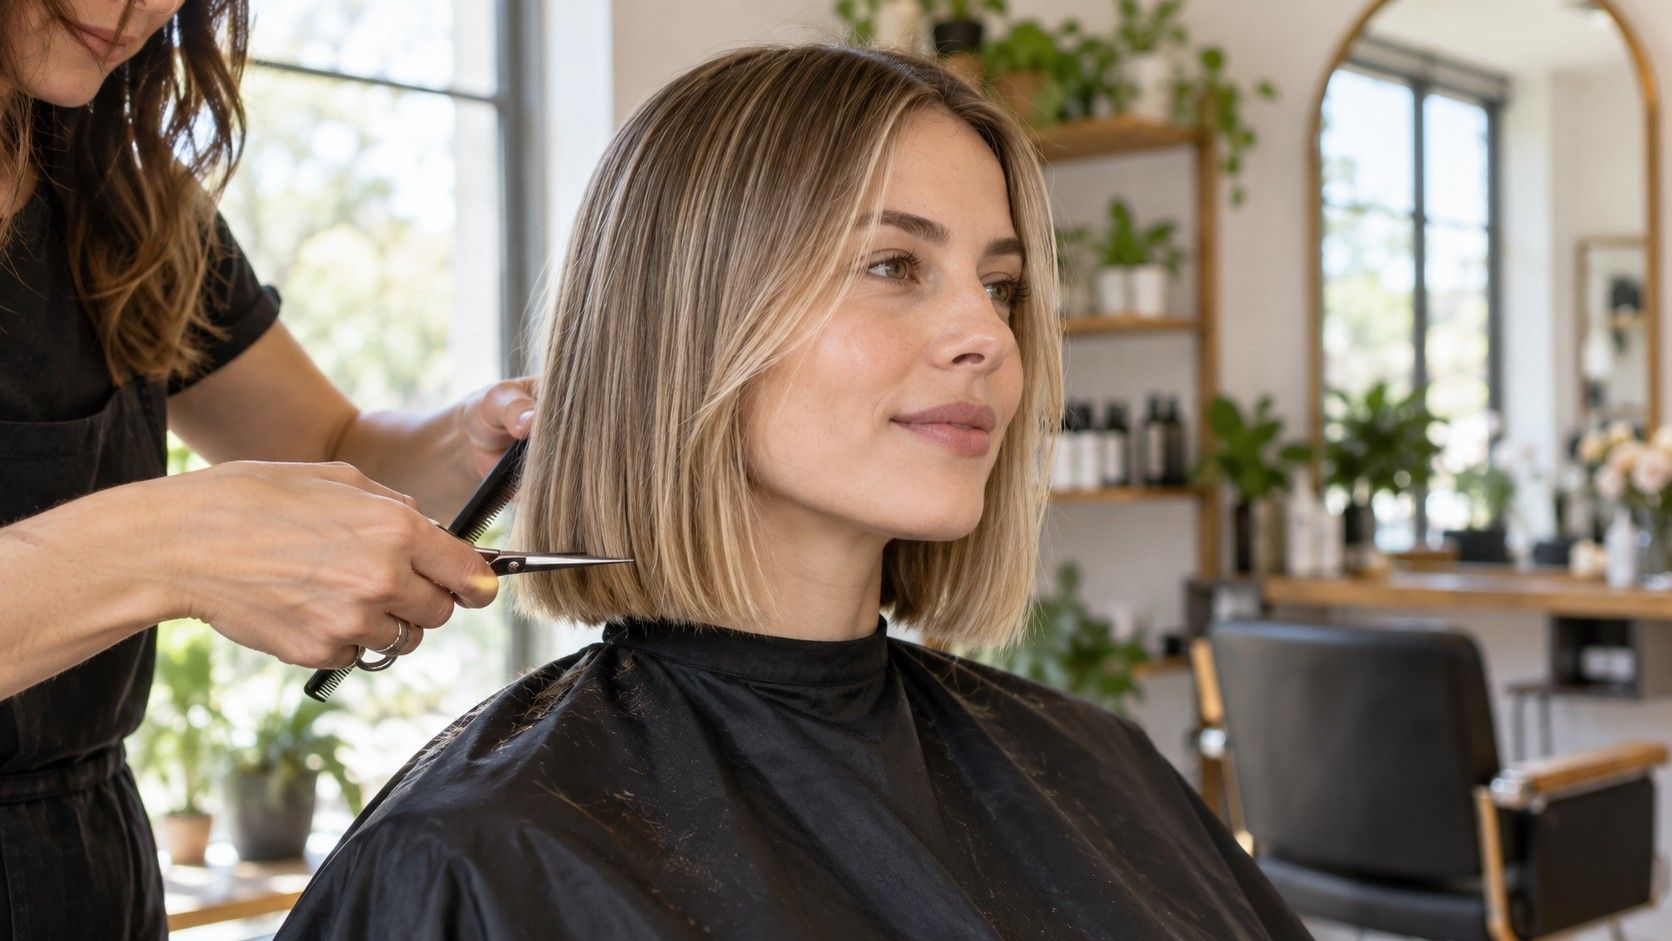
Length changes the whole read of a haircut. A virtual hairstyle try on can show the difference between a lob that lands on the collarbone and one that catches halfway down the neck; on a real person, that gap affects whether the ends flip out, sit under a coat collar, or need a round brush every morning. It is far more useful than arguing over whether a stock image has exactly your shade of brown.
Test the same cut in three lengths rather than three unrelated cuts. If you like a textured bob, compare jaw, chin, and neck length. If you are considering layers, keep the length and alter only the point where the first face-framing section begins. Save screenshots with simple labels. After ten minutes, it is surprisingly easy to remember the feeling of a result but not what changed.
Then check the result against your life. A jaw-length blunt bob may look sharp in the preview, but ask whether you wear glasses, cycle in wind, clip hair back for work, or need it tucked behind one ear. A longer version can give up very little visually while being easier to live with. The best choice is often the one that still makes sense on a rushed Tuesday, not the one that wins a still image.
Fringe overlays are persuasive because they change the face quickly. They are also where a try-on can drift furthest from reality. A soft curtain fringe may look effortless in an image while your front section splits down the middle after an hour. A straight full fringe may sit beautifully on the screen yet need daily heat styling if your hair bends at the roots.
Use the result to decide which fringe family to investigate. A long, centre-parted curtain fringe, a side-swept fringe, and a short blunt fringe solve different problems. Compare where each one starts: at the cheekbone, at the brow, or higher on the forehead. Notice whether it blocks your glasses, narrows the visible forehead, or makes the temples look heavier. Those details give a stylist something concrete to adjust.
Before you become attached to an image, inspect your own hairline in a mirror after it has air-dried. Look for a cowlick at either front corner and for the direction your fringe naturally separates. A good stylist can work with that growth pattern, but no virtual tool can see it reliably. Bring the screenshot as a mood reference, then let the real hairline overrule it.
Test partings and volume with the cut you already like
Parting is an overlooked part of trying hairstyles online. A centre part can make a long cut look deliberate and clean, but it may expose a sparse area at the crown or make a heavy side feel more obvious. A soft off-centre part can change the balance without changing the haircut at all. It is worth testing because this is an adjustment you can make at home before committing to scissors.
Try the candidate cut with your usual part, then move it only a centimetre or two. If it suddenly works, tell the stylist that the part is part of the plan. A haircut often fails in photographs because it was styled with a different root direction than the person wears every day. The same is true of volume: a huge crown may look elegant in a preview but can be tiring to recreate if your hair is fine or very straight.
Pay attention to the silhouette rather than individual strands. Does the width sit near the cheeks, lower around the shoulders, or mostly at the crown? A preview helps you see these broad shapes. It cannot tell you whether your hair will hold a curl through a damp commute, so keep that question separate.
Turn screenshots into a clearer conversation at the salon
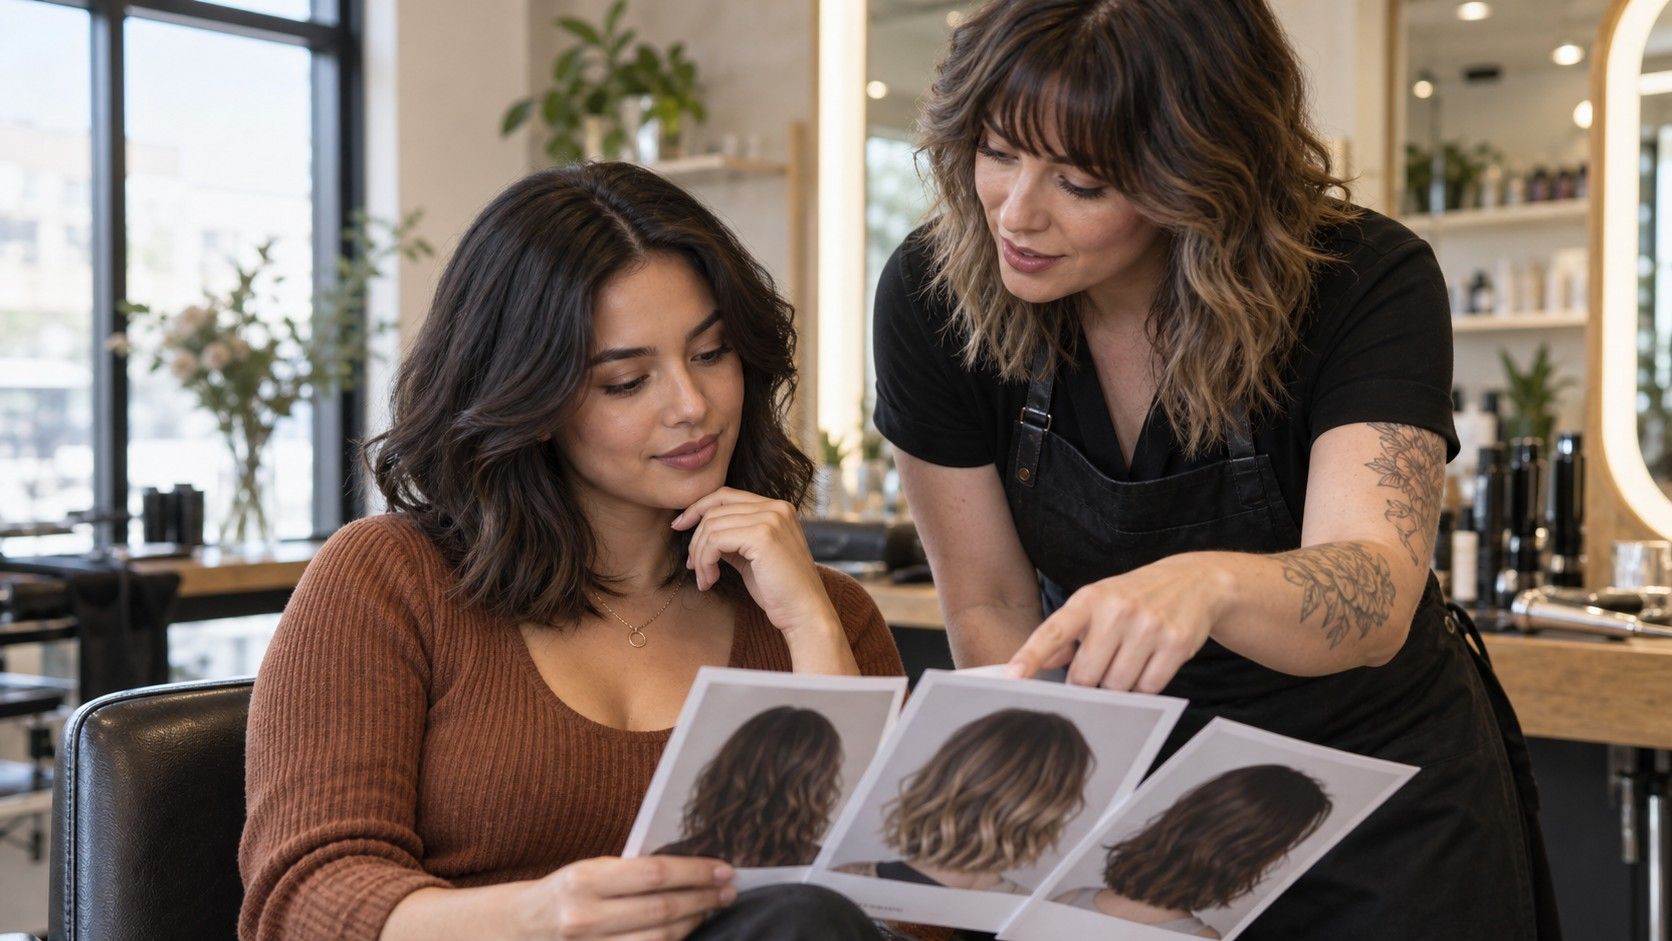
Bring two or three saved images, not a gallery of thirty. One can show the length, one the fringe or face-framing, and one the texture you like. Explain what you respond to in each image: perhaps the collarbone length, the softer line around the cheekbones, or the fact that the fringe opens at the centre. This is clearer than saying you want the exact hair from a digital preview.
Ask the stylist what needs changing for your density, curl pattern, and maintenance limit. If you air-dry most days, say so. If you are happy with a blow-dry twice a week but not every morning, say that too. A useful answer may be to keep the length from one screenshot but use fewer layers, a longer fringe, or a softer perimeter. That is not the tool failing; it is the point where a computer image becomes a wearable haircut.
It also helps to ask what the grow-out will look like. A very short fringe, sharp undercut, or heavily graduated bob can be fun, but each has a different awkward stage. If you are nervous about change, choose the version that can be adjusted after the first appointment. Hair grows, but a cautious first cut gives you room to learn what you actually enjoy seeing in the mirror.
Know where a virtual result can mislead you
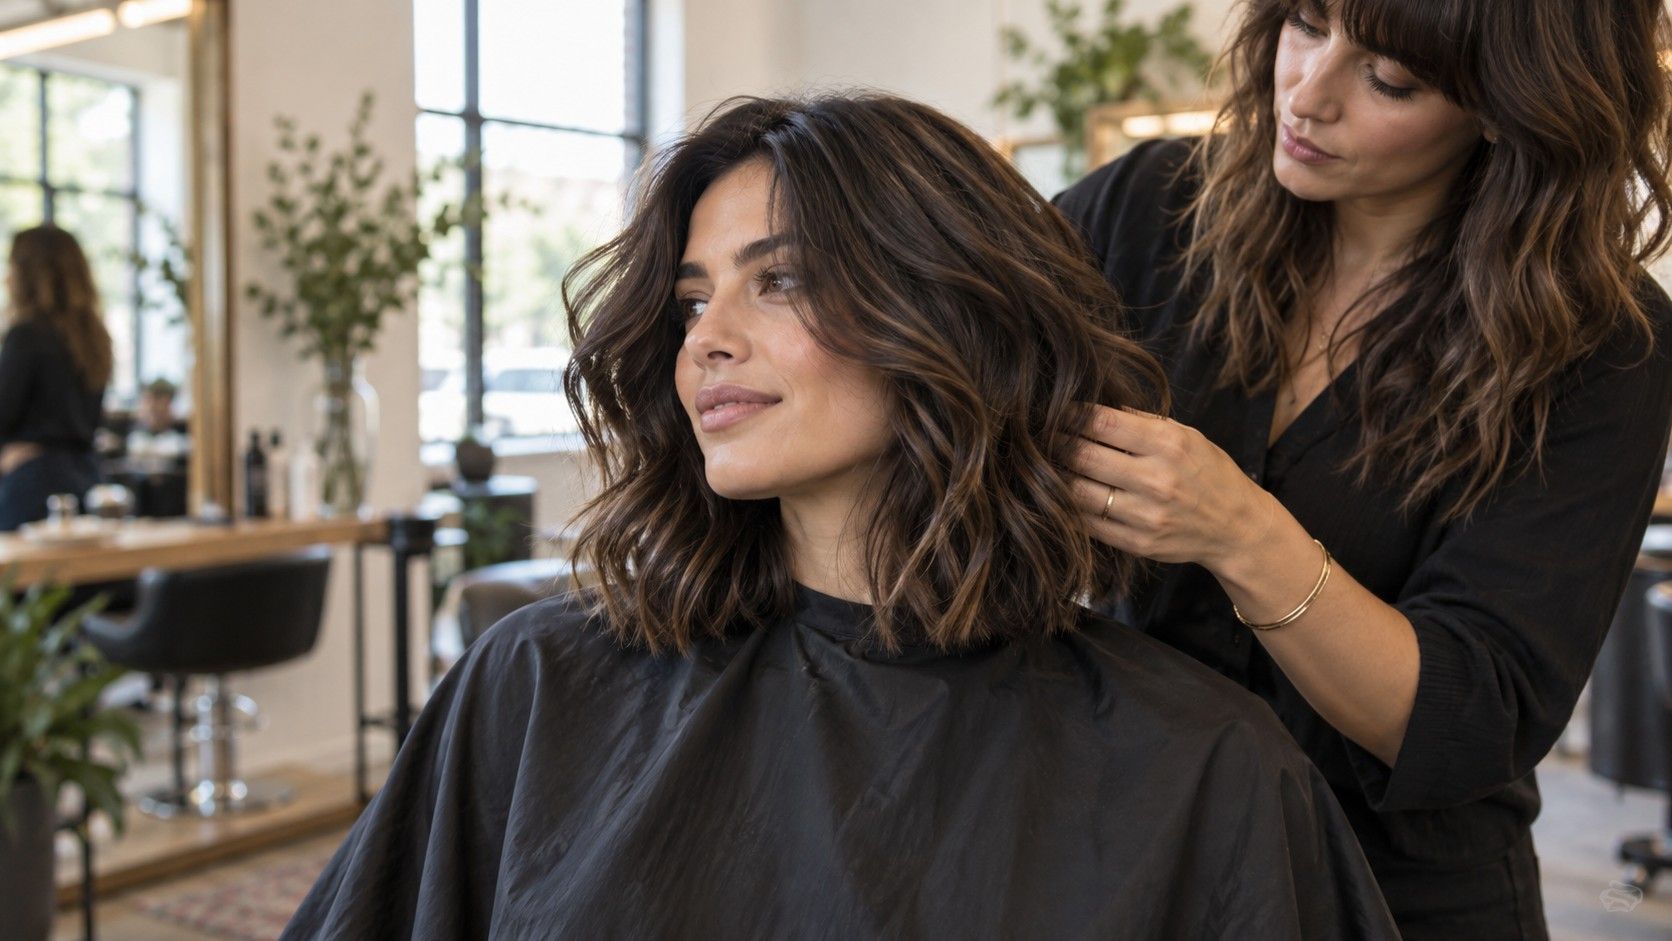
Virtual results struggle with density, texture, and movement. Thick wavy hair does not collapse into the same sleek line as a smooth overlay, and fine hair may not hold the airy volume shown in an edited image. Curly hair has its own geometry: shrinkage, curl grouping, and the way layers spring up matter more than the outline in a flat portrait.
They also tend to tidy the edges. Real hair has flyaways, irregular growth, a part that shifts, and days when the weather wins. That does not make a preview useless. It just means you should read it as a sketch. If a style only looks good when every strand is perfectly placed on a screen, it may require more effort than you want to give it.
A good final check is almost boring: view the saved image the next day, when the excitement has faded. If you still like the length and the overall shape, keep it. If you only like the dramatic transformation, pause. The most helpful virtual try-on is the one that makes your salon decision calmer and more specific.